Cricut Maker 3
Have you purchased or received the Cricut Maker 3? Are you ready to take the next step to unbox and set up your new machine? If you’re new to using a Cricut it can be a scary thought but I’m here to help you unbox and set up your new machine.
This post may contain affiliate links for your convenience, which means I may receive a commission, at no extra cost to you, if you make a purchase through a link. Please see my full disclosure for further information.
Once you start using your Cricut you will find it can be a little bit of a learning curve at first but with continuing to make new craft projects it will become a way to relax and loose yourself in the world of crafting.

I recently purchased a Cricut Maker 3 and have created step by step instructions along with a video showing you how to unbox and set up your new machine. Follow along as I help you set up your machine and start crafting your way to fun.
After carefully removing the machine from the box, set the machine on your craft table. In the box underneath your new Cricut Maker 3 you will find the USB cord and the electrical cord. Next carefully remove the outer plastic wrap from your machine.
Setting Up The Cricut Maker 3 Using Design Space
If you already have Cricut Design Space downloaded on your computer and have used it before here is the easy way to set up your new machine.
Click on Cricut Design Space
In the top left corner there is the word “Home” with three lines next to it, click on the three lines.

A drop down menu will appear, select New Product Setup

On the next screen click on smart cutting machine.

On the next screen click on Cricut Maker 3

On the next screen it will show you how far to keep your new machine away from the wall
Click on the arrow to the right of the image
On the next screen it will show you where to plug the electrical plug in the back of the Cricut Maker 3
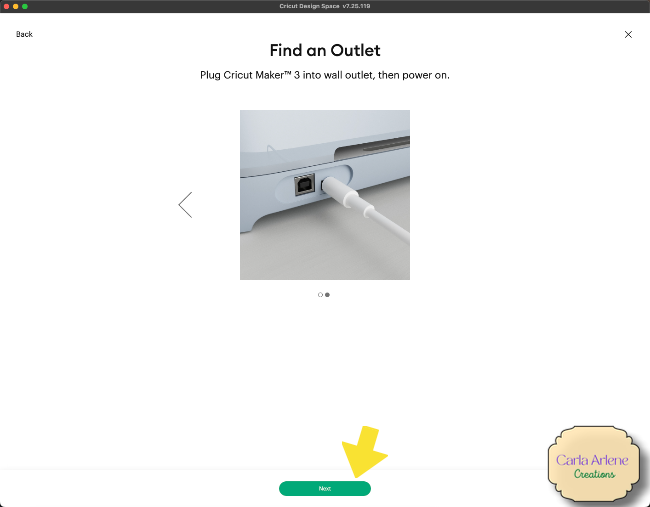
Then plug the other end of the electrical plug into the wall outlet
Once you have your Cricut Maker 3 plugged into an electrical outlet, click next on the bottom of the screen. Make sure your Cricut Maker 3 is turned on. On the next screen you will choose if you want to use the USB cord that came with the Cricut Maker 3 or Bluetooth (I chose bluetooth).

Then the connect using Bluetooth screen will appear.

It may take a few minutes for your computer to find the Cricut Maker 3 using Bluetooth.
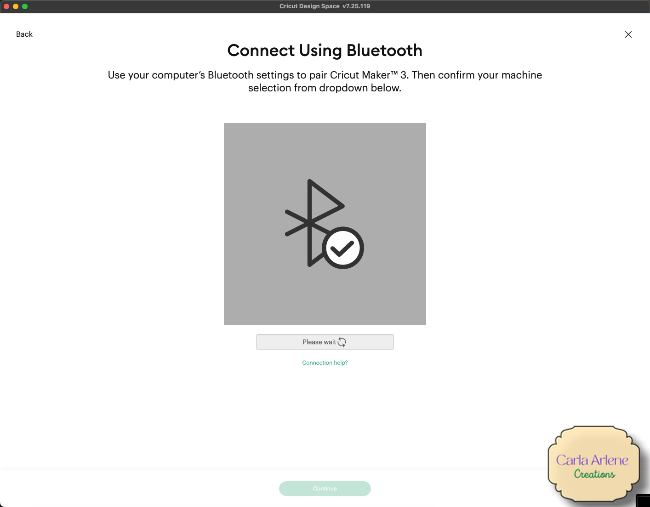
Once the screen shows that it has connected to your Cricut Maker 3, click on the continue button. Next you are going to Activate your Cricut Maker 3. First you will need to click on the square next to I agree to Cricut Terms

Once you have done that click on the activate button
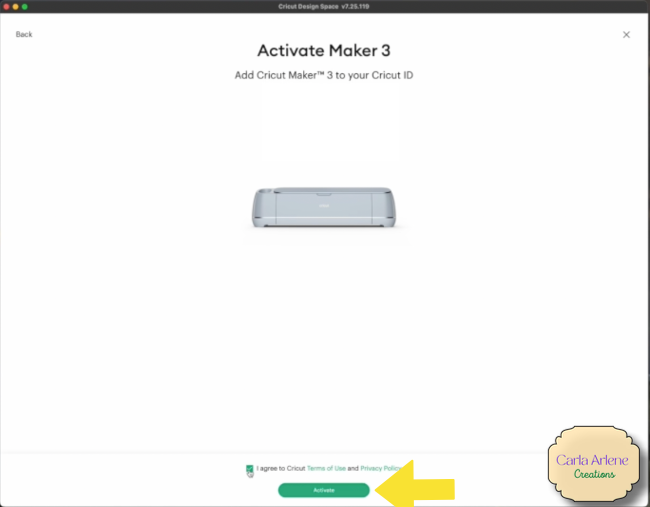
Now your machine is going to update, this will take a few minutes

Once the update is complete, your setup is complete

Next we are going to test your machine, a piece of black smart vinyl was included in the white envelope. Click on next

Cricut Design Space is going to ask you to make sure your Fine Point Blade is loaded and secured into Clamp B (as shown in photo)

Next you will take the smart vinyl in both hands and load it into the machine, just like you would if you were using a mat. Then click on the load/unload button (two arrows)

Once your machine has cut out the word Cricut on the smart vinyl and everything looks right you are ready to start crafting

Happy Crafting!
Carla