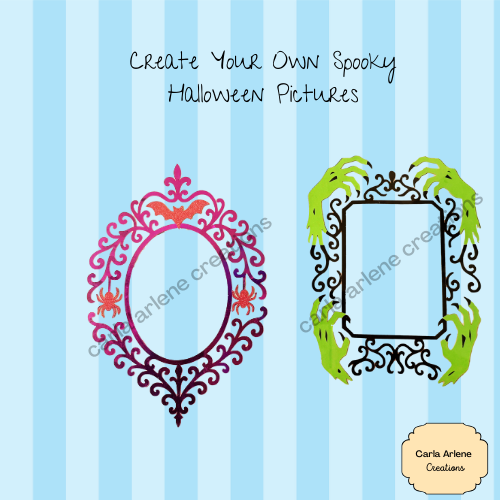
DIY Stencil Using Cricut Design Space
How to Make Your Own Halloween Stencil Using Your Cricut and Acetate
If you’re ready to step up your Halloween décor game this year, creating custom stencils using your Cricut and acetate is a fantastic way to add a spooky, personalized touch to your projects. Stencils are perfect for decorating walls, windows, pumpkins, or even DIY t-shirts. With the help of a Cricut machine, you can design intricate Halloween stencils that make your décor stand out. In this post, I’ll walk you through the steps to create your own stencil using acetate sheets.
This post may contain affiliate links for your convenience, which means I may receive a commission, at no extra cost to you, if you make a purchase through a link. Please see my full disclosure for further information.
I have started making my own wreath attachments and thought it would be a great idea to create a stencil to make it easier when painting some of my styrofoam lollipops.
Materials Needed
Step 1: Choose or Create Your Design
You can either upload a design to Cricut Design Space or choose one from the Cricut library. Look for Halloween-themed images like pumpkins, bats, witches, or haunted houses. If you want to get creative, you can design your stencil by using basic shapes to build your image or text.
Make sure your design isn’t too intricate for the stencil. Avoid very fine details, as they may not cut well on acetate or hold up during painting.
Step 2: Prepare Your Design in Cricut Design Space
Once you have your Halloween design, adjust the size to fit the surface where you plan to use the stencil. For example, if you’re making a stencil for a pumpkin, measure the surface area and resize the design accordingly. You want to ensure that the design fits comfortably on your acetate sheet without too much excess space around the edges.
Be sure to double-check that the design is set to “Cut” in Cricut Design Space. You don’t want any other functions (like “Draw” or “Score”) selected by accident.
Step 3: Place the Acetate on Your Mat
Take your acetate sheet and place it on the StandardGrip mat, making sure it’s securely pressed down. Acetate is slippery, so you’ll want to make sure it adheres firmly to avoid shifting during the cutting process.
Step 4: Cut the Stencil
With your acetate placed on the mat, load the mat into your Cricut machine. Depending on the thickness of your acetate, you may need to adjust the cut settings. For most acetate sheets, selecting the “Stencil Film” or “Plastic Packaging” material setting works well. Do a test cut on a small corner of the acetate to ensure it’s cutting through properly without tearing or scoring the mat.
Hit “Go” and let the Cricut work its magic!
Step 5: Remove the Stencil from the Mat
Once the cutting process is complete, carefully peel away the excess acetate from your design. The stencil itself should remain on the mat. You may need a weeding tool or craft knife to remove small inner cut pieces, like the centers of letters or shapes.
Step 6: Use Your Stencil
Now that your stencil is ready, you can use it for your Halloween projects! Here are a few ideas:
- Pumpkins: Tape the stencil to a pumpkin and use acrylic paint or spray paint to transfer the design.
- Walls and Windows: Stencil spooky shapes onto windows or walls with paint for easy-to-remove Halloween décor.
- Fabric Projects: Use fabric paint with your stencil to create a custom Halloween t-shirt, pillow cover, or trick-or-treat bag.
To avoid smudging, use stencil adhesive spray or painter’s tape to hold the stencil securely in place while painting. Make sure to dab the paint rather than brush it to prevent paint from bleeding under the edges of the stencil.
Step 7: Clean and Store Your Stencil
After using your stencil, rinse it with warm water and a bit of dish soap if you’ve used paint. Acetate stencils are reusable, so store them flat between sheets of paper or in a folder to prevent them from bending or warping.
The latest on Youtube:
Creating your own Halloween stencil with a Cricut and acetate opens up endless possibilities for spooky, custom décor. Whether you want to personalize pumpkins or add chilling designs to your walls, a homemade stencil gives you the flexibility to craft unique Halloween items that stand out.
With just a few simple materials and your Cricut machine, you can bring your Halloween visions to life!
Happy crafting,
Carla


